Slitherlink Strategy: Count Edges and Keep One Loop
Use this Slitherlink strategy to combine clue counts, corner deductions and dot connections, then check that every line belongs to one closed loop.
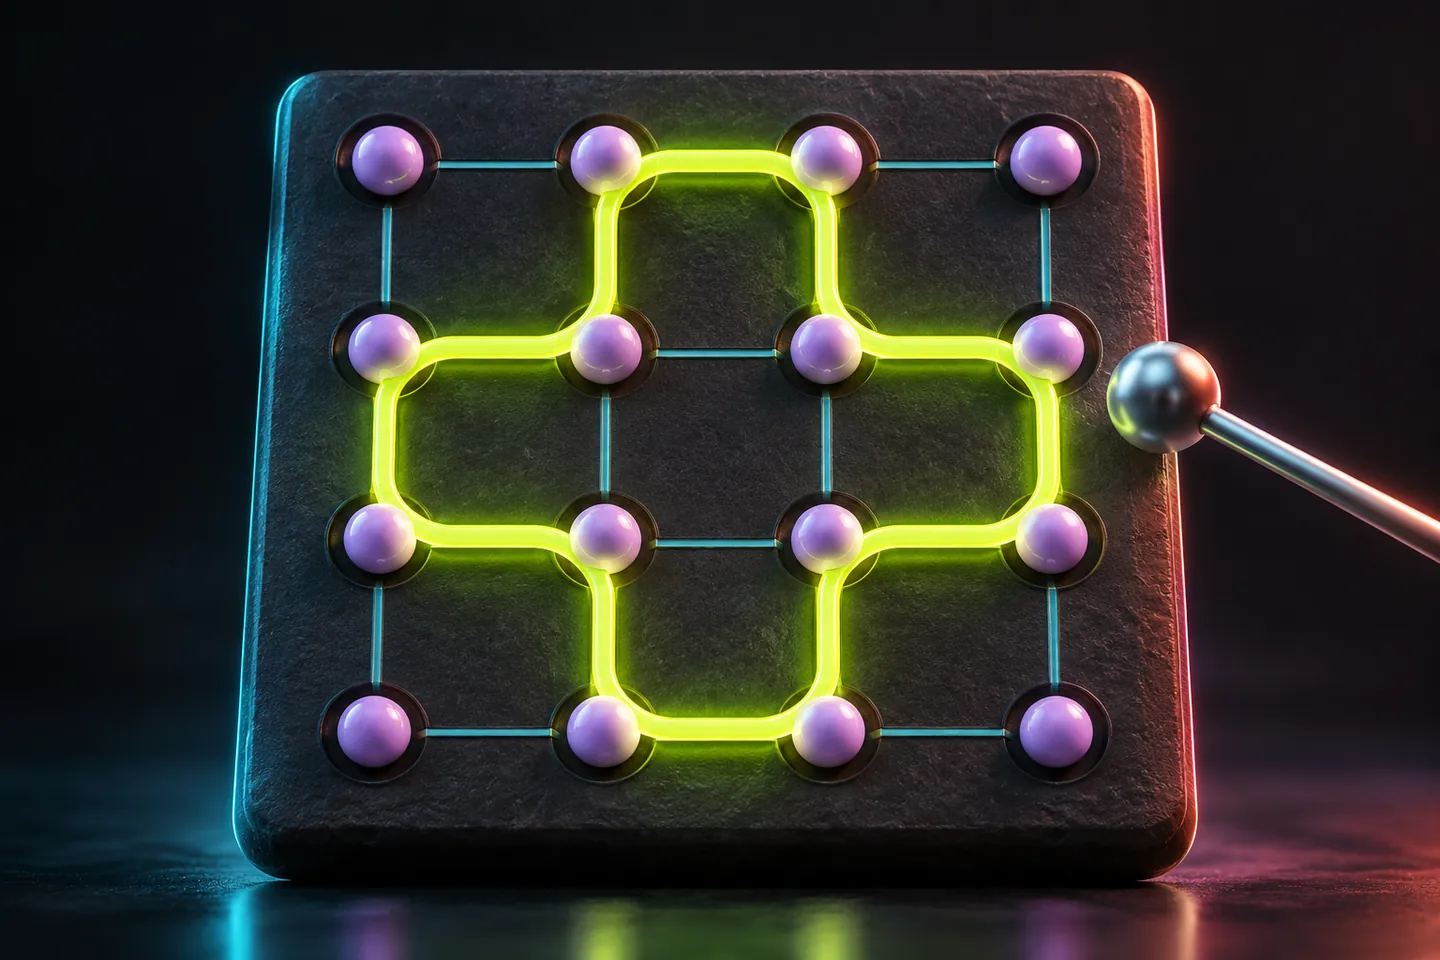
Read the number and the route together
A useful Slitherlink strategy checks two things at once: how many edges each clue needs and how the selected edges connect. A number describes its square's four sides. The finished answer must also form one closed loop without branches or crossings. Satisfying a collection of nearby numbers is only part of that task.
This guide uses ProjectGAMR's 4×4 square-grid starter version. All sixteen cells show clues, and you select horizontal or vertical edges between adjacent dots. Nikoli's publisher rules and Simon Tatham's Loopy manual provide the general context; the controls described below belong to this site's game.
Separate an excluded edge from an undecided edge
A clue of 0 rules out all four sides of its square. If a 2 already has two selected sides, its other two sides must stay out. Conversely, if a 2 has one selected side and two excluded sides, the only remaining side must be selected. Count available possibilities as well as lines already drawn.
An edge that currently has no line might still be undecided. Keep a separate paper note when you have proved it cannot be used. The browser toggles a line on or off; it does not provide a separate X-mark state. An empty-looking edge alone therefore does not record the reason you left it unused.
At a used dot, exactly two lines meet
A dot may remain unused. Once the loop visits it, exactly two incident lines must meet there: one arrives and another leaves. One line creates a loose end; three create a branch; four create a crossing. A turn and a straight passage both use two lines.
If two selected edges already meet at an interior dot, exclude its other two edges. If one edge is selected and all but one other route has been excluded, the remaining route must continue the line. Apply that deduction only after establishing those exclusions, rather than treating every currently blank edge as unavailable.
A 3 in a grid corner gives a concrete deduction
Imagine a 3 in the top-left square of a rectangular grid. Its top and left edges meet at the outer corner dot, where only those two edges are available. Selecting just one would leave a loose end there. Selecting neither would leave only two sides for a clue that needs three.
Both corner edges must therefore be selected. Exactly one of the square's bottom and right edges is then needed, but this argument does not decide which one. Keep that choice open until another clue or connection resolves it. This is an original rule exercise, not a promised starting clue in every generated board.
Do not close one part while another part remains outside
On a spare dot sheet, draw two separate closed rectangles. Every used dot can have two incident lines, yet the drawing still contains two loops. That structural counterexample shows why the dot rule alone cannot validate an answer. The numbered clues remain a separate requirement too.
Before connecting the two ends of a partial path, inspect the rest of the board. If another selected segment remains outside that closed component, the proposed closure cannot produce the required single loop as it stands. Revisit the proposed connection rather than accepting a neat-looking local outline as the finished answer.
Finish with three separate checks
First count each numbered square's surrounding lines. Next inspect every used dot for exactly two connections. Finally trace the selected line until you return to your starting point, confirming that no other selected segment remains elsewhere. These checks address counts, local connections and the complete route respectively.
Tap an edge again to remove a line you want to revise, then choose Check loop to validate the board. New game clears the lines and selects a starter layout, which may repeat. The practice goal is to explain one forced edge or exclusion at a time; these introductory deductions do not promise a complete method for every larger Slitherlink puzzle.
Keep exploring
Sources & further reading
Have a correction? Tell our editorial team.