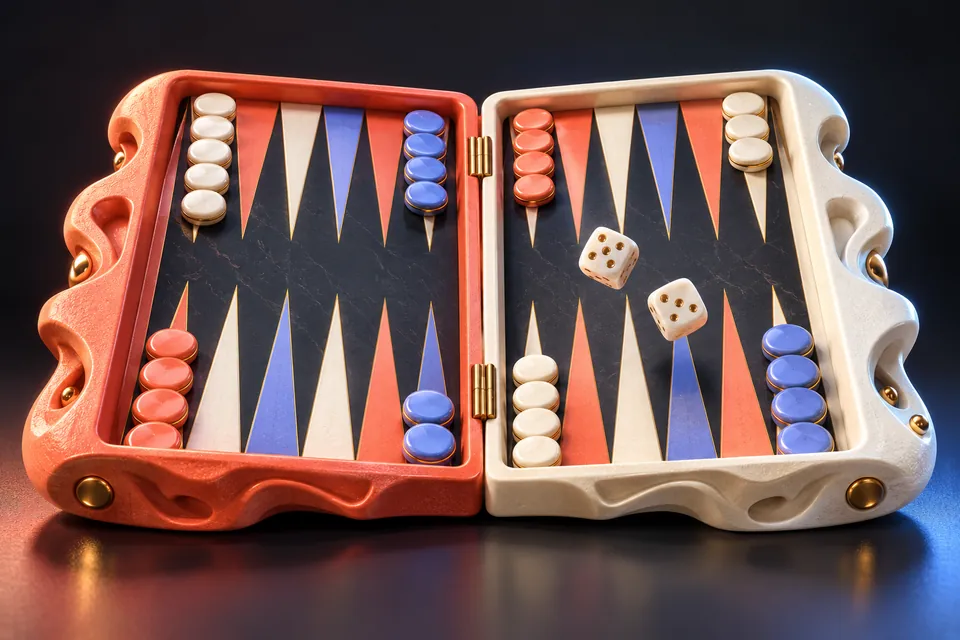
Backgammon Basics: Moves, Hits and Bearing Off
Learn a no-stakes backgammon game with clear examples for using both dice, hitting a blot, re-entering from the bar and bearing off legally.

Set up a race with contact
Backgammon has twenty-four points and fifteen checkers per player. From your own perspective, move toward lower-numbered points and then off the board. Your starting checkers occupy the 24-point twice, the 13-point five times, the 8-point three times and the 6-point five times. Your opponent travels the opposite way.
This guide covers a single game without money or doubling-cube decisions. The first player to bear off all fifteen checkers wins. The federation and rules references below explain the standard movement rules. Start by identifying your home board, points one through six, so “forward” has a consistent meaning throughout your first game.
Read the dice as separate moves
Two dice are two separate moves, not one permission to leap their sum. A destination is blocked when it contains at least two enemy checkers. Doubles supply four moves of that number. Use both dice if possible; if only one can be used and either number works separately, use the higher.
For an original example, a checker on point eight with a roll of three and two can travel eight–five–three if both landing points are open. Alternatively, eight–six–three works if six and three are open. If both five and six are blocked, that checker cannot move directly to three, even if three itself is empty.
Compare whole legal turns
Suppose you roll four and two, and moving a particular checker four first would prevent you from using the two. If a different order or another checker allows both dice to be used, you must choose a legal full use of the roll. Stopping after your favorite first move is not an option.
Before committing, sketch two complete candidate turns. Count the checkers you leave alone and the points you strengthen. Two checkers together close a point to the opponent; a lone checker remains exposed. This comparison turns a dice roll into a small planning problem instead of a reflex to move the nearest piece.
Understand a hit and the bar
One enemy checker alone is a blot. Landing on it sends it to the bar. A player with checkers on the bar must re-enter them before moving other checkers. From your own numbering, a die of one enters on point twenty-four, two on twenty-three, and so on, provided the destination is open.
Imagine one checker on your bar and a roll of two and five. Your 23-point is blocked and your 20-point is open. You can enter on twenty with the five, then consider legal uses of the two. If both entry points are blocked, you cannot rescue the checker with an unrelated move elsewhere.
Bear off only when everyone is home
Bearing off begins when all your active checkers are on points one through six. A matching die removes a checker from that point. An oversized die can remove from a lower point only when no checker remains on a higher point. If a hit sends a checker out, bring it home before bearing off again.
For example, with your highest checker on point four and no checkers on five or six, a six can remove a checker from four. But if one checker remains on six, that same oversized shortcut from four is unavailable. You must consider a legal move using the six-point checker instead.
Make your first games about clean turns
During a local game, say the route for each die before moving: “eight to five, then five to three.” After the turn, check that you used as many dice as the rules require. This exposes blocked intermediate points and incomplete turns before they become a habit.
For early strategy, compare progress with exposure. A move that advances far but leaves several blots may invite hits; a perfectly safe stack may leave your other checkers stranded. The dice make outcomes variable, so review the choice using the legal options available at the time, rather than judging it only by the next roll.
Sources & further reading
Have a correction? Tell our editorial team.